Are you in the process of renovating your kitchen or bathroom and considering using RTA (ready-to-assemble) cabinets? These cabinets have become increasingly popular in recent years due to their affordability, convenience, and ease of installation. However, if you have never assembled RTA cabinets before, it can seem like a daunting task. But fear not, in this blog post, we will guide you through the process of assembling RTA base cabinets in a step-by-step manner, so you can have your dream kitchen or bathroom in no time.
What are RTA Base Cabinets?
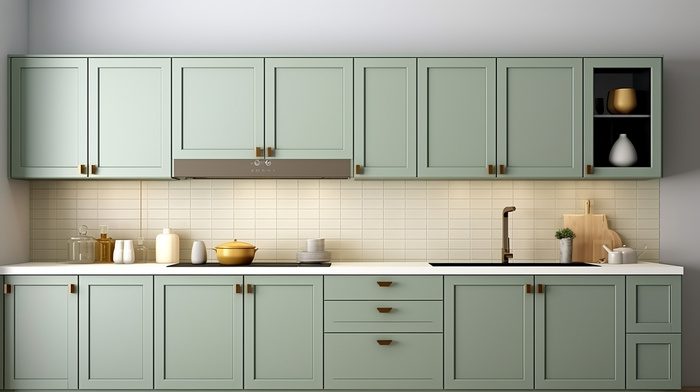
RTA cabinets, also known as flat-pack or knock-down cabinets, are pre-manufactured cabinets that are shipped to the customer in a flat pack with all the necessary components and hardware. These cabinets are designed to be easily assembled by the customer, eliminating the need for professional installation and saving both time and money. RTA cabinets are available in a variety of styles, materials, and finishes, making them a versatile and budget-friendly option for any home improvement project.
Why Choose RTA Cabinets?
There are several reasons why RTA cabinets have become a popular choice among homeowners and contractors alike. Here are some of the main advantages of using RTA cabinets:
- Cost-effective: RTA cabinets are significantly cheaper than custom-made cabinets, making them an ideal choice for those on a budget.
- Easy to assemble: As mentioned earlier, they are designed to be easily assembled by the customer without the need for specialized tools or skills.
- Convenient: Since the cabinets are shipped in a flat pack, they take up less space during transportation and can be easily maneuvered into the desired location.
- Customizable: While they come in standard sizes, they can be customized to fit the specific dimensions of your space.
- High-quality: Despite their affordability, RTA cabinets are made with high-quality materials and are built to last.
Step-by-Step Guide to Assembling RTA Base Cabinets
Now that you know the benefits of using RTA cabinets, let’s dive into the process of assembling them. Follow these steps to assemble your RTA base cabinets successfully:
Step 1: Gather the Necessary Tools and Materials
Before you begin assembling your RTA cabinets, make sure you have all the necessary tools and materials. These may include a screwdriver, drill, hammer, level, measuring tape, and wood glue. It is also essential to have a clean and organized workspace to avoid any mishaps during the assembly process.
Step 2: Identify and Sort the Cabinet Components
Start by identifying and sorting all the cabinet components according to their respective parts. This will make the assembly process more manageable and prevent any confusion. Each RTA cabinet will come with a set of instructions and a list of components, so make sure to refer to them as you sort the parts.
Step 3: Assemble the Cabinet Box
The first step in assembling your cabinets is to put together the cabinet box. This will involve attaching the sides, top, bottom, and back panels using the provided screws and wood glue. Make sure to follow the instructions carefully and use a level to ensure that the cabinet is straight and sturdy.
Step 4: Install the Shelves and Drawer Slides
Once the cabinet box is assembled, it’s time to install the shelves and drawer slides. These components will vary depending on the style and design of your cabinets, so make sure to follow the instructions provided by the manufacturer. It is crucial to measure and level the shelves and drawer slides to ensure a perfect fit.
Step 5: Attach the Cabinet Doors and Hardware
The final step in assembling your RTA base cabinets is to attach the cabinet doors and hardware. This will involve attaching the hinges, handles, and knobs to the doors and then attaching the doors to the cabinet box. Again, make sure to follow the instructions carefully and use a level to ensure that the doors are aligned correctly.
Additional Tips for Assembling RTA Cabinets
- Read the instructions carefully before starting the assembly process.
- Have a friend or family member help you with the assembly for larger cabinets.
- Use wood glue in addition to screws for added stability.
- Take your time and be patient. Rushing the assembly process can lead to mistakes.
- Double-check all measurements and levels before securing any components.
Contact RTA Cabinets Fast Today
Assembling RTA base cabinets may seem intimidating at first, but with the right tools, materials, and instructions, it can be a straightforward and rewarding process. These cabinets are a cost-effective and convenient option for those looking to renovate their kitchen or bathroom. By following the steps outlined in this guide, you can have your cabinets assembled and installed in no time.
If you need any assistance with assembling, RTA Cabinets Fast is here to help. We specialize in high-quality RTA cabinets, and our team of experts can guide you through the assembly process or even assemble the cabinets for you. Contact us at 561-783-5846 for more information.